
The first thing I did today was make a jig for the legs of the chair. In order to get them all the same, I took a small block of pine and drew a line 1 1/4" down from one edge. Then I pounded a large nail, the diameter that I wanted the bottom of the chair legs to be, into the wood just above the line.
It's not very scientific, but it works for me. I cut the wires just by eye to the length that I needed. They can be trimmed more later.
Probably about 3 to 3 1/2" would do it.
Then I wrapped the center of the wire around the nail and bent the ends flat over the edge of the wood block.
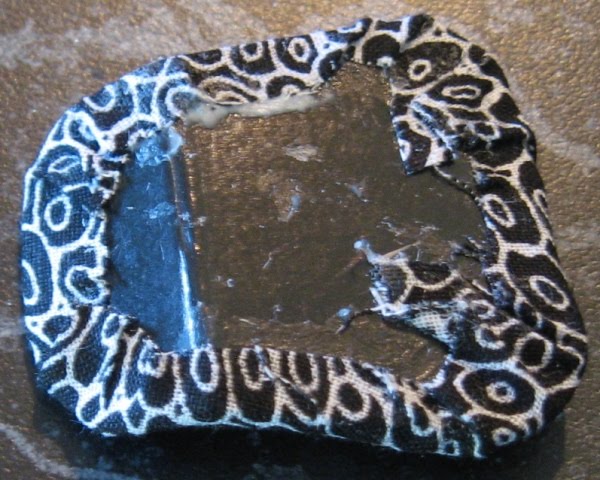
This next photo looks a bit messy. I did clean up the glue after I took it.

I cut two pieces of cardboard from a box that I had on hand. I used the bend in the box for the bend that I needed in the seat base.
I cut two of these. You have to do it to match your chair, so I just gave you some general measurements for mine. The widest part of the front is 1 1/8" wide. The depth to the fold was 3/4" and the flap was 1/2".
After the glue dries, you can manipulate the legs more and clean things up. I made the legs flair out more than they are in this photo.

Here is a photo of the chair with the base glued underneath. I have it clamped together for drying.
I cut a cardboard form for the seat. This was also cut from the bend in the box. I wanted a "contour" seat.

Here you can see the back and front view. I got the bend by putting two layers of thin batting on the front seat part and then covering the whole top surface with a third that went up the back bend.
Then I covered the whole thing with fabric, easing the corners into place without any folds. I am not sure why this photo turned out so small. Hopefully I will get large enough by poking....

Here's the finished chair. Please note that Zar has learned his lesson. If he sits on the sofa, there is still room for Tessie to sit there, if she so wishes, without zapping him into the next county.
Please ignore the overturned furniture in the kitchen. I think that is left over from the last time that Zar sat somewhere that he wasn't supposed to sit.
See you tomorrow.
8 comments:
Your chair turned out great!
-Kim
Great tutorial Casey! I'm wondering if I could make some bar stools like this for my new restaurant? Smaller, longer legs... you got me thinking!
Go for it Kathi. I put the first one up in the rooftop garden. It looks pretty good there. I do see a lot of possibilities for this technique. I am trying something else right now with it. If it turns out you will get to see it soon.....If....
All the furniture in there turned out Great!! So...working on something, new, huh....Hope it works for you so we all can see it:)
Awesome tutorial, Casey! I didn't find any materials in my stash, so that means I have to dig deeper into the needlework room... and go buy some more mouthwash. ;-)
LOL Kat! I have the only tutorial that makes miniature furniture and makes your breath smell pretty at the same time!
Me gustó mucho tu primer intento. En este intento te has superado. Las explicaciones perfectas. Muchas gracias por las fotos del paso a paso.
Besos Clara
que interesante y bien explicado, muchas gracias
Post a Comment