 When panic sets in, Tessie forgets to zap. Therefore I knew I would be safe for about a half an hour.
This first photo is how to start. You will be using two strands of embroidery floss throughout the weaving. I hold the thread end about a quarter of an inch from the tail of the wire with a bit of glue on it. The wire. Not the thread. The thread gets laid on the glued wire.
 Then I start wrapping the thread around the wire, from the end back to the quarter inch mark.
I shape that into a loop with my needle nosed tweezers. If you don't have them, you will have to make do with needle nose pliers.
Then you start doing a four rap weave. That is, you wrap the thread four times around the wire and then on the fifth wrap you put your needle into the coil below.

In this photo, I have three coils almost finished. There are four wraps on the wire and the needle is sticking in where it will be pulled through.
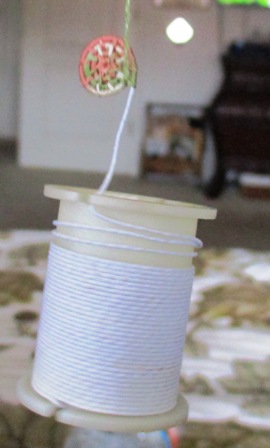
It will stop spinning when it is back to being relaxed and normal again.


I forgot to mention that you should work with a long length of thread. I usually work with about an arm span. That way I don't have to add thread that often. You might want to start with shorter until you get used to a longer length.

I will continue with the rest of the sides and the finishing in the next blog entry.
Good luck with your starting!
See you tomorrow.
1 comment:
Thank you for these instructions, Casey. This looks easy enough even for someone like me! - Marilyn D., Oromocto, NB, Canada
Post a Comment